Showing posts with label soy wax batik with textile paint. Show all posts

Sunday, August 9, 2015

Beautiful Skies and Soy Wax Batik with Textile Paint

This last week's weather brought some incredibly beautiful skies that I want to share with you. It was like the sky was on fire.


Here are two of my soy wax batik samples from last week's class.


Interesting transparency of colors on this.  I painted all of it in yellows and oranges, 
added wax patterns, then painted it in blues and greens. 


I was using this to demonstrate while teaching, so my concentration could have been better. I find it difficult to talk and create at the same time and do both well.  Language is a left brain function, whereas painting is right brain. There has been a lot of research on this issue which I find to be true and fascinating.  I'm always reminding my middle school students to turn down the left brain and turn  up the right brain when they are creating.  They respond that they can 'multi-task.'  However, the latest research on multi-tasking shows neither task is done as well.  I'm sure there are exceptions regarding this as I find that I can cook and talk on the phone at the same time pretty well, as long as it's not a new,  complicated recipe.  But when it comes to designing and creating, I don't want distractions.
  How do you feel about that?  Let me know.


Sunday, August 2, 2015

Soy Wax Batik Class

Yesterday I taught a class on Soy Wax Batik to some members of the Almond Country Quilt Guild.  Nineteen people had signed up, but only 16 were actually able to make it, which turned out to be a more manageable number after all.  They made some wonderful pieces of art.  I think some of them were surprised to find out what they were capable of creating.  Here's some pictures of their work.


I think this piece was Lisa's, but it could also be Judilyn's. It's so exciting
 when you put a second color over the first waxing and see the design emerge. 


 Above is Lynne working on her project.  Her fabric
 had an overall print of circles to begin with.  
Wish I had a picture of her finished piece.  It was really great.

 This is Linda H.'s piece in process.  It also turned out to be very lovely. 
 Here's Dora working on hers.  Wonderful mark making and color choices.
 Here's Kathy putting on the final dark paint after crackling the wax.
 Here's Elizabeth's underwater scene.
 A lovely bubble piece hanging outside to dry. Not quite sure who's this was.
  I'm thinking it was Judilyn's.


Lovely swirls and other circular designs with great colors.
 Not quite sure who created this piece.

It was a very hot day and we did have some issues with drying the wax and the painted pieces outside. At home, I allow the wax to set up in my studio.  After applying a layer of paint, I hang it outside on a line to dry. The church hall, although very nice, did not have the facilities to accommodate these methods.  It seemed as though the wax was remelting due to the sun and some gals even had the misfortune of having their waxed designs disappear, which was very disappointing.  The melting temperature of soy wax is supposedly about 140 to 180 degrees so it was surprising that it re-melted in the 95 degree heat.  I think there was a negative reaction of the plastic between the fabric and foam core board that possibly caused it.  We worked around it as best as we could and students produced some wonderful pieces.

Thanks to Dora, Linda and Cyndi who arrived early to help set up tables, extension cords, paints, etc. I brought tons of stuff for this workshop, most of my studio, it seemed.  Thanks to everyone for their great positive attitudes as we worked out some weather related issued I had not experienced in doing soy wax batik previously.  Thanks for all the help in cleaning up at the end and repacking all my junk.  It was great fun!  Hope everyone brings their ironed out pieces to Monday's meeting.  Would love to get some pics of the finished masterpieces.


Sunday, May 10, 2015

Soy Wax Batik with Dye-na-Flow Paints

Yesterday I batiked some silk and cotton using Dye-na-Flow paints.


I first waxed the large circle grids to preserve some of the white, then painted on the yellow and orange.


Then I used a tool that was rectangular with diamond openings
 to preserve some of the yellow and orange areas.  After the wax dried, I painted black over it.


After the black dried, I placed it in the freezer (read that you get more cracking this way) and then twisted it to get the wax go fall off.  I did too much twisting, too much wax came out, but I didn't know it at the time.  I then applied black over the whole piece and let it dry.  Closeup is below. I like it but wish it didn't have quite so much black.


This is a silk scarf.  Again I preserved some white areas, then painted yellows and oranges on it. Next I waxed over some of the yellow and orange areas, then applied blue paint.  Really like this one.


Friday, April 10, 2015

Soy Wax Batik with Paint

I had a chance to play around with soy wax and textile paints yesterday.  Lots of fun.

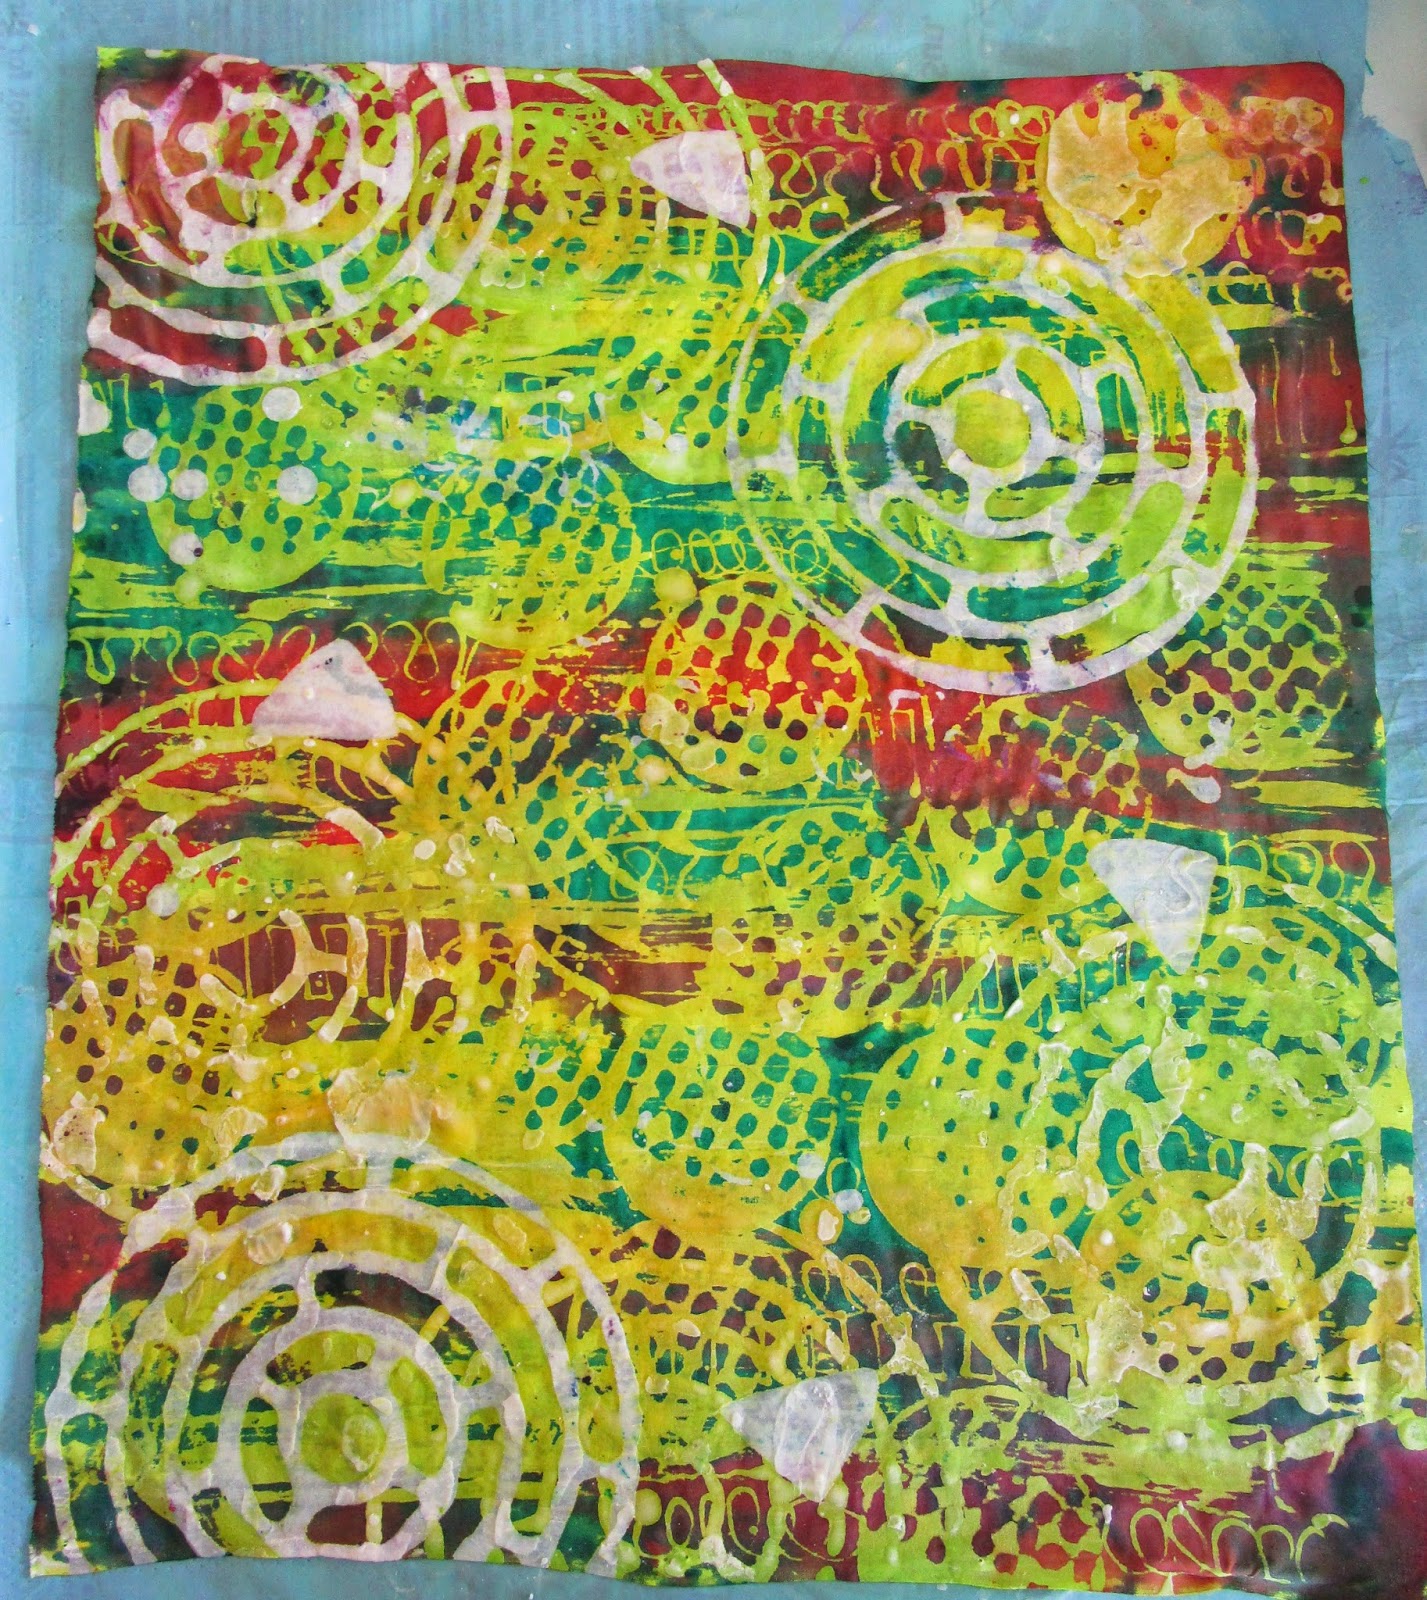
 First I put imprinted wax onto the white fabric, then painted it with yellow,
 yellow-green, and yellow-orange.

After drying the fabric I did more waxing using a variety of objects dipped into the wax
 and painted on darker colors.  


Above is the dried, ironed fabric.  Most of the wax is removed, but I will do the final very hot washing in a few days after I'm sure the paint is totally cured.  I know the ironing does heat setting too, but don't want to lose any color.  This is one side of the fabric and below is the other.  Although the paint is transparent, the sides are a little different due to using paint as opposed to dye.  I kind of like that, in that it gives you more options in using the fabric.


Below is my sweet dog napping in the sun on the bed in my studio.