Showing posts with label Shibori. Show all posts

Monday, September 9, 2019

New Itajime and Arashi Shibori Fabrics and Shirt

Here are some new dyed fabrics and a shirt I made 
 with a fun group of women, part of the Sew Whatz group,  in the studio barn on Saturday.


This is a T-Shirt I over-dyed using the Arashi Shibori technique. It had been previously ice-dyed but needed another layer of pattern to tie it all together into a more cohesive design.


This is an example of the honeycomb technique.
To learn more about that technique, see my post previous to this one. 
I like the water-like texture in these honeycomb pieces.


I used hexagon shaped tiles to create this clamped resist piece shown above.
I think it resembles glowing bugs with long antennae and legs.


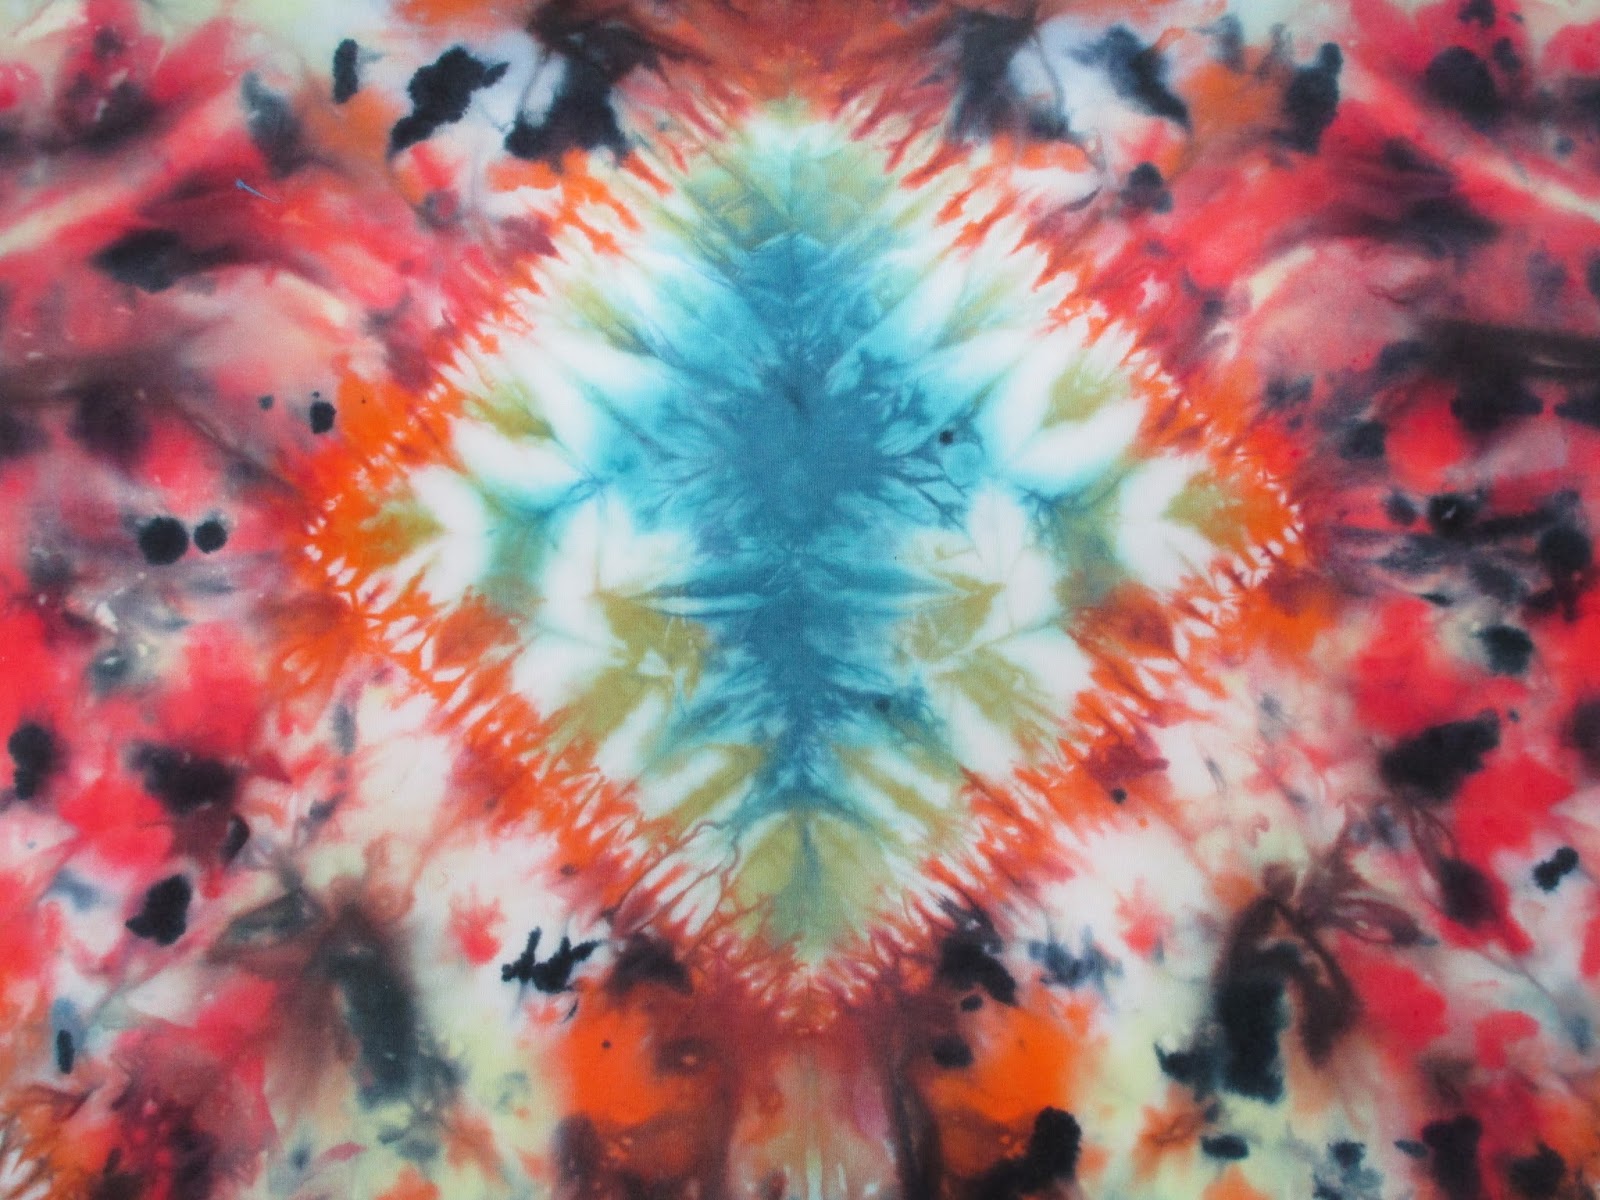
Above is an example of stitched resist know as Komasu Shibori.


The one above is folded just like the stitched one above it, 
but you use only rubber bands
 to create the patterns.  I like it quite a bit and it's easier.


For the one above I used two balsa wood cut outs of a maple leaf  I bought at Michaels, clamped together with fabric in-between them. 


The piece above was accordion folded and held together with rubber bands. 
It's done on linen.


Friday, August 30, 2019

Honeycomb Shibori Technique Revisited

A couple days ago, I did some experimenting with variables
 in regards to the Honeycomb shibori technique. 
 I used three different cords with which to wrap the fabric. I also wrapped each one in three different ways. The one furthest on the left was folded in half and wrapped diagonally around a half inch nylon diameter cord, the middle one was wrapped around a 1/4 inch diameter cord and the one on the right was wrapped leaving about three inches on the outside. It was done on a pastel fabric,
using  a 1/2 inch jute diameter cord.


So yesterday was the big unveiling. I really love unwrapping 'batched' fabrics
 and seeing how the dyes and techniques turned out. It's almost like Christmas!

Below is the one furthest to the left in photo above.  I like how this one turned. out.
 I used Robin's Egg, Cerulean, Dragonfruit and Plum.


This is the middle one from the top photo. I'm pleased with this one too.
  I used Turquoise, Cobalt and Raven Black.


This is the one on the right in the top photo, done on a commercial pastel fabric, 
with some fabric hanging outside of the loop. It was
too pale for me. I had used Chartreuse and Emerald Green on it. I decided to re-dye it.


 So I re-tied it using the honeycomb method again and 
added some cerulean to it.  The picture below shows the improved one.


I had lots of fun experimenting with this technique, and it should be helpful
 in predicting outcomes in the future. 


Monday, July 22, 2019

More Shibori Dyeing

It's so great to have the studio up and running, so I can go out whenever I want and find all my stuff together in one place and be creative!  I can't thank my wonderful husband enough for making this all possible. I used to have to schlepp stuff from three different places to my sewing room, that is, after rearranging the studio room so I would have space to dye.


This piece is accordion folded and tied.


The piece above is made by wrapping the fabric around whiffle balls, believe it or not!


This is another one made by folding and using rubber bands to secure the folds.


This was a stitched resist where I used a running stitch in a spiral design.


Here's a Linen/Cotton shirt folded and dyed twice, 
once with horizontal folds, then again with vertical folds.

Friday, July 5, 2019

Indigo Shibori Shirt Dyeing

I finally opened my Jacquard Indigo kit that I purchased from Dharma Trading company in December of 2016. I bought it to give me some motivation as I laid in bed recovering from my spinal fusion surgery that I had a few months earlier. Well, the kit sat there until the last Saturday this June.

Indigo dyeing seems to be very popular and I've wanted to check it out for awhile now. It was lots of fun and very different from the procion dyeing that I've been doing over 20 years.  The preparation of the fabrics using itajime or arashi techniques are the same however. Here are some pictures of some of the pieces made. I'll add more next week when I have more time.

As you can see below, I used a variety of itajime (folding, binding, clamping, etc.) techniques
 as well as the arashi (tied around the PVC pipe.)
The pieces below are oxidizing. They have been dipped from one to three times each. The more times you dip the fabric, the darker the dye will be.
(Notice, Fang, our black cat on the table in the back who likes to hang out in the studio.)


Above and below are two vintage linen napkins I dyed using the arashi technique
 and then cut and made them into this shirt. I'm really pleased with it. 
 The linen took the indigo dyes just beautifully. Thank you to my good friend Marilyn who gave me her mother's old linen napkins and tablecloths.


The lovely shirt below is a J. Jill, 100% Linen shirt, size Large, that I dyed in the indigo last week.
It is for sale if anyone is interested. Just email me or leave a comment.
It was gifted to me some time ago and no longer fits me.


Below is a video that show the indigo oxidizing.  After you finish doing all your dipping into the indigo, you open up the fabric to allow it to oxidize. 
That is when the fabric turns from  yellow-green to the dark blue.


Tuesday, May 28, 2019

More Arashi Shibori

I had lots of fun yesterday in my new studio playing around with dyes
 creating layers of colors and patterns. 


First Layer


Pole-wrapped


Drying outside on the clothesline


Closeup


Monday, January 16, 2017

Finally Finished "Shibori with Bird" Quilt

This is a story of a quilt.  In 2009, when I was working on my Masters Degree in Art Education I started a stitched resist shibori quilt. I had done some arashi shibori prior to this but had always been fascinated by the variety of designs that could be achieved through resisting dye via stitching.


Below is a picture of the quilt after dye was applied and rinsed out. Notice the wavy stitched lines at the bottom of the piece both in the picture above and below.


It took me eight years to get back to this lovely piece of fabric. I would take it out at least once a year and try to figure out what to with it.  Finally in 2016 I made a border that worked well with it and started hand stitching and embroidering on it.


Feeling it needed a focal point, or fun little surprise, I discovered a negative area that resembled the shape of a bird, so stitched one in. The eye was painted.  I was a nervous wreck painting it due to the permanence of the acrylic paint, which did not leave much room for error.


Sunday, November 6, 2016

Quilting Shibori-Stitched Resist Piece

I've been working on hand quilting a shibori-stitched resist piece made quite awhile ago.
  Getting close to finishing it.


I'm using pearl cotton using a big stitch and some French knots here and there.


Thursday, August 11, 2016

Textile Show at the De Young Museum

We just returned from a short, but wonderful trip to San Francisco.  We visited the DeYoung Museum, the Legion of Honor, checked out the tiled mosaic steps on 16th avenue, and all sorts of wonderful delights for the eye.

The Ed Ruscha show at the DeYoung was fabulous as was the "On the Grid:Textiles and Minimalism" show.  Today I'm just posting pictures from the Textile show.


The picture above and the two below are of a wrapping cloth (Pojagi) from Korea.  


Below is a picture of Bark Cloth from Polynesia


I loved this shibori fabric. It was also my husband's favorite from the show.
Below is more information about the artist and the work.
 Worth checking out if you are a fan of shibori.


id

Sunday, October 25, 2015

Designing New Quilt

Time to take some of my precious hand dyed fabrics and do something with them instead of keeping them in stacks in my overcrowded studio.  But, it's just so hard for me to cut some of these fabrics up.  However it is clearly what needs to be done.  Here's some pictures from my design wall of fabrics I'm considering for a quilt. Five of the fabrics are hand-dyed, the other six are commercial ones.


The fabric in the top right is a stitched shibori piece I made a couple of years ago. 
 That's the one that will be hardest to cup up.  


Wednesday, September 9, 2015

Komasu Shibori

It was great to have a three day weekend. Caught up on schoolwork, gardening, cleaning and then had time for some fun with dyeing, specifically Komasu Shibori. This is a Japanese resist dye method using stitching and tying gathered fabric together. It's explained in detail in the Shibori bible, otherwise known as, Shibori, The Inventive Art of Japanese Shaped Resist Dyeing by Yoshiko Wada, Mary Rice, and Jane Barton.


I folded the fabric in half and stitched as shown above, using strong button thread.


I gathered the stitching together tightly and wrapped the fabric from inside each triangular area.


The top photo is the whole piece, approximately fat quarter size. Below is a close up. 
I used Lemon Yellow, Deep Orange, Emerald Green, Chineese Red and Black

Tuesday, May 5, 2015

Shibori Shirts

Did some Arashi Shibori on  three shirts Sunday.

This one is a linen shirt with embroidered areas that stayed white
 due to the polyester thread in them.


This was done on a yellow Land's End T-shirt.


This was done on a Dharma White T-Shirt.


Wednesday, November 5, 2014

What's Happening on My Design Wall

This last weekend, I went through my ever increasing stack of hand-dyed fabrics to figure out what  to do with them.  Some of the shibori and ice dyed  fabrics have such intense areas of pattern that to cut them up seems a shame.  Yet, I don't think they are all candidates for whole cloth quilts either.  A few of them might be.  So I threw these up onto my design wall to see how they would work with each other and did a few sketches.  The marbled fabrics are a little tricky to integrate well with other fabrics.  So I was looking at patterns and colors that played well with each other.  All of the ones below are hand-dyes except for the one with the gorgeous black background with green and orange patterns third from the right end. I picked that one up at PIQF at the Ananse Village booth.  They always have such wonderful batiks from Africa.


The small strip of black and white patterned fabric on the right is also commercial.  Black and white seems to always work well with lots of brights.

Sometimes I think I should just try to sell all my dyed fabrics, but I like them too much and it's a lot of work marketing yourself online, for which I don't have time or interst.  Looking forward to having some time to figure this all out.  

Monday, October 27, 2014

Shibori and Tie Dye Baseball Caps

I developed an insatiable interest in all things Shibori while pursuing my Masters degree a fews ago.  This past month on the "And then we started it on Fire" blogsite  (See link in my list of blogs to the right), different artists have been presenting information and experiments on stitched shibori.  I had a couple of hours yesterday, in between grading papers, cleaning, an all the other 'stuff'  one has to get done, to play around with stitching a leaf shape,


then adding small washers, etc. to the inside of the shape as I was gathering it up.


 I pulled up the stitching very tightly and soaked it in soda ash for 15 minutes.  Next I squirted dyes onto it. The fabric was a commercial varigated orange to begin with.  Stay tuned for the rinse out, coming later today after work.


I recently tie dyed a hat.  A friend of mine reallylike it and asked me to make a couple for herself and husband.  Before rinsing out:


Check back later to see how these turned out.