Friday, February 21, 2020

Art by Accident

Sorry, I haven't posted in awhile. We have had a family medical emergency
 taking top priority and most of my time and energy. Yesterday, I did have a little time to spend in my studio. I was comparing a couple brands of paint in regards to viscosity, color, etc., 
when the container tipped over, spilling paint. 
Never one to waste paint, I quickly grabbed a couple pieces of cotton fabric to wipe it up, then spritzed some Marabu spray paints here and there.


I really like the subtle nuanced textures created accidentally.

Back in the late 70's while at Cardinal Stritch College in Wisconsin, 
I took a very interesting class, where we did a month long unit on  creating designs accidentally.  
We did a lot of fun experiments using glue, smoke, inks, etc. 
Our 'textbook' was Design by Accident by James F. O'Brien. 
The book contains a variety of great experiments to use to create interesting designs using everything from adhesives, crayons, enamel, smoke, inks, foil, sprays, shellacs, wax paper, etc.

Below are some pictures of samples made in the class. I was living in a small apartment with an even smaller attic, that I used as my studio. It did not have great ventilation, to say the least. In that attic space I remember using all sorts of toxic, stinky materials to create art. 
Now, I take great care to use much safer materials, but still love the accidental designs.


India Ink on wet Bristol Board


 The two above are done with rubber cement on poster board with black india ink


 The two above are melted crayons on poster board.


This one above was created by using tracing paper with water on poster board and followed up with spray paint. Sorry I can't remember the exact steps as to how each was created exactly 
because it was so long ago.
 I just remember having great fun discovering  serendipitous designs.


These were done by spreading acrylic paint on a piece of posterboard, and then pressing another piece of poster board on top of it. Then you pulled the two cardboards apart from each other, creating the raised paint texture. Then you lightly spray black from one edge to catch the raised ridges.


Sunday, February 2, 2020

Over Painting Fabrics

Sometimes your fabric doesn't turn out the way you envisioned it.
 Don't throw it in the rag pile yet! When that happens I paint another layer of pattern or texture on it to create more interest.  This particular piece of fabric received quite a few layers.  
First I sun-printed it, but didn't care for how it turned out.


So then I folded it into thirds both directions, placed a cd on either side of  it, 
securing it with rubber bands.


Then I squirted paint on the outside edges, letting it seep into the fabric


Then to tie it all together I stenciled dragonflies on it with an iridescent paint.


I think I finally like it! Just a reminder to not throw those 'dogs' out. Have fun experimenting with your stash of 'art goodies' and upcyle!

Friday, January 17, 2020

Dish Detergent Resist with Fabric Paint

I conducted another experiment today using dish detergent
 as a resist to fabric paint to create a design on fabric.
Below shows the fabric after the blue dish detergent dried. 


Next, I painted black textile paint over the resist and let it dry.


I followed up with a magenta and teal. I love how easy and clean this method is. 
However, my design could use some work.


Tuesday, January 7, 2020

Teaching a Class at Cambria Art Center in March


I'm very excited about teaching a class on painting on fabric for the Cambria Center for the Arts
 in March. If you are local and interested in learning different techniques to create your own one of a kind fabric, sign up for the class. It will be limited to 12 people so that everyone will get the attention and space they need to create some masterpieces. 


There are so many ways to use paint on fabric. The piece above was done on canvas in a very free form way using plastic cards to spread the paint, along with some spattering.


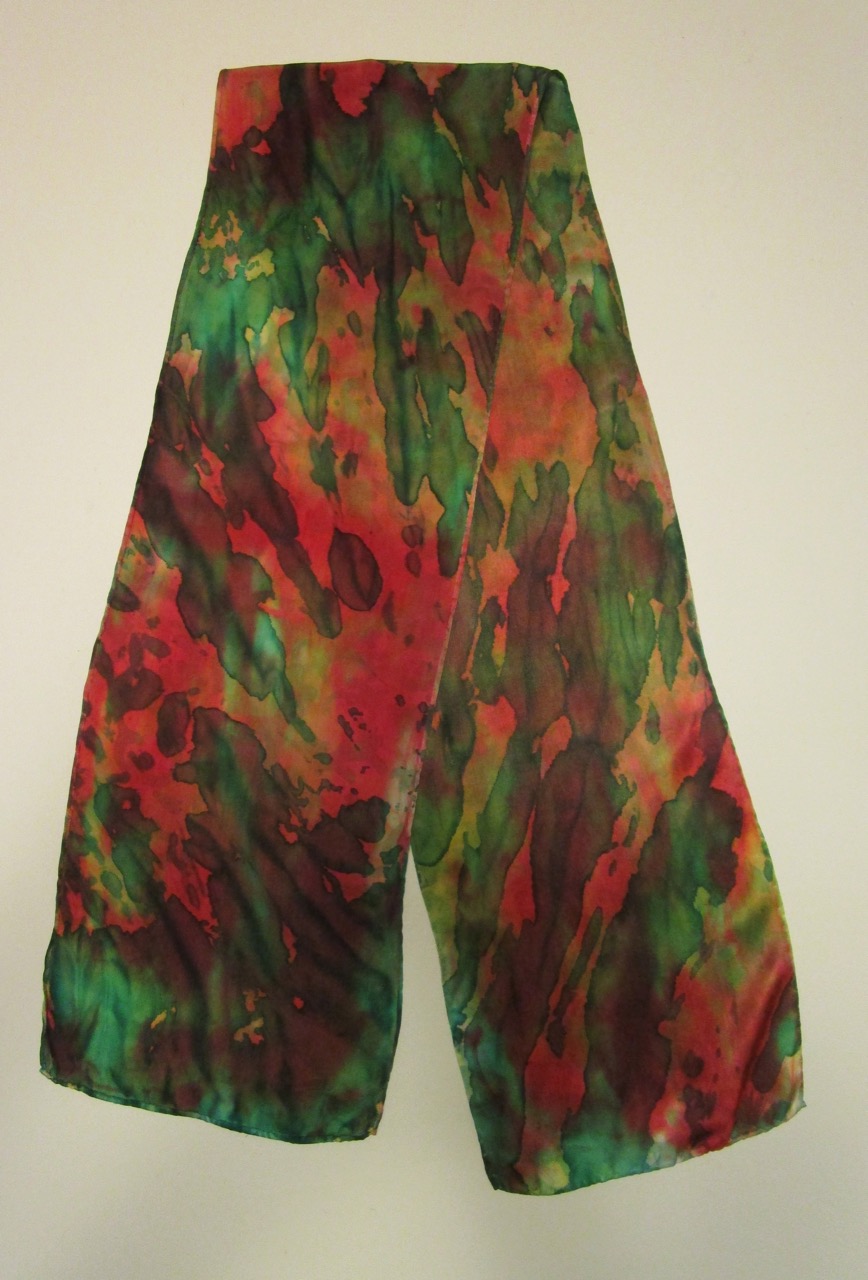
This scarf was done with Dye-na-flow paint using the
 arashi shibori technique.

Monday, December 23, 2019

Finished Quilting Marbled Fabric Quilt

I finished quilting my Marbled fabric quilt. This quilt came together so fast for me. Keep in mind I created the fabric in 2013. I could say, I've been planning it for the last six years, 
but you know that's not true. 


At first I had no idea how to quilt it. Outlining the shapes didn't really appeal to me.

Below are two closeup shots of the quilt.


I laid some clear plastic over the whole quilt and started doodling with an erasable marker until it showed me where it wanted to be quilted.


Friday, December 13, 2019

Marbled Fabric Quilt

I started a new quilt this week using some fabrics I marbled in 2013. If you have never experienced marbling fabric, I highly recommend it. It is a magical experience! When I was teaching art at the middle school, I loved seeing the students' reactions as they lifted their papers off of the marbling tub and flipped them over to see the beautiful designs they had created. They used the marbled papers to line the inside covers of small books they created. The outside covers of their books were hand stamped from blocks they carved and inked up.


Wednesday, December 4, 2019

Showing Scarves at Studios on the Park in Paso Robles


Studios on the Park will have their opening reception for the  "Hand Crafted for the Holidays" show this Saturday from 6 to 9 PM. There's lots of great hand-crafted gifts in the show, including some silk scarves made by me. Hope I'll see you there!